
The activity packs for Science Week 2016 are now available and are themed around Space.

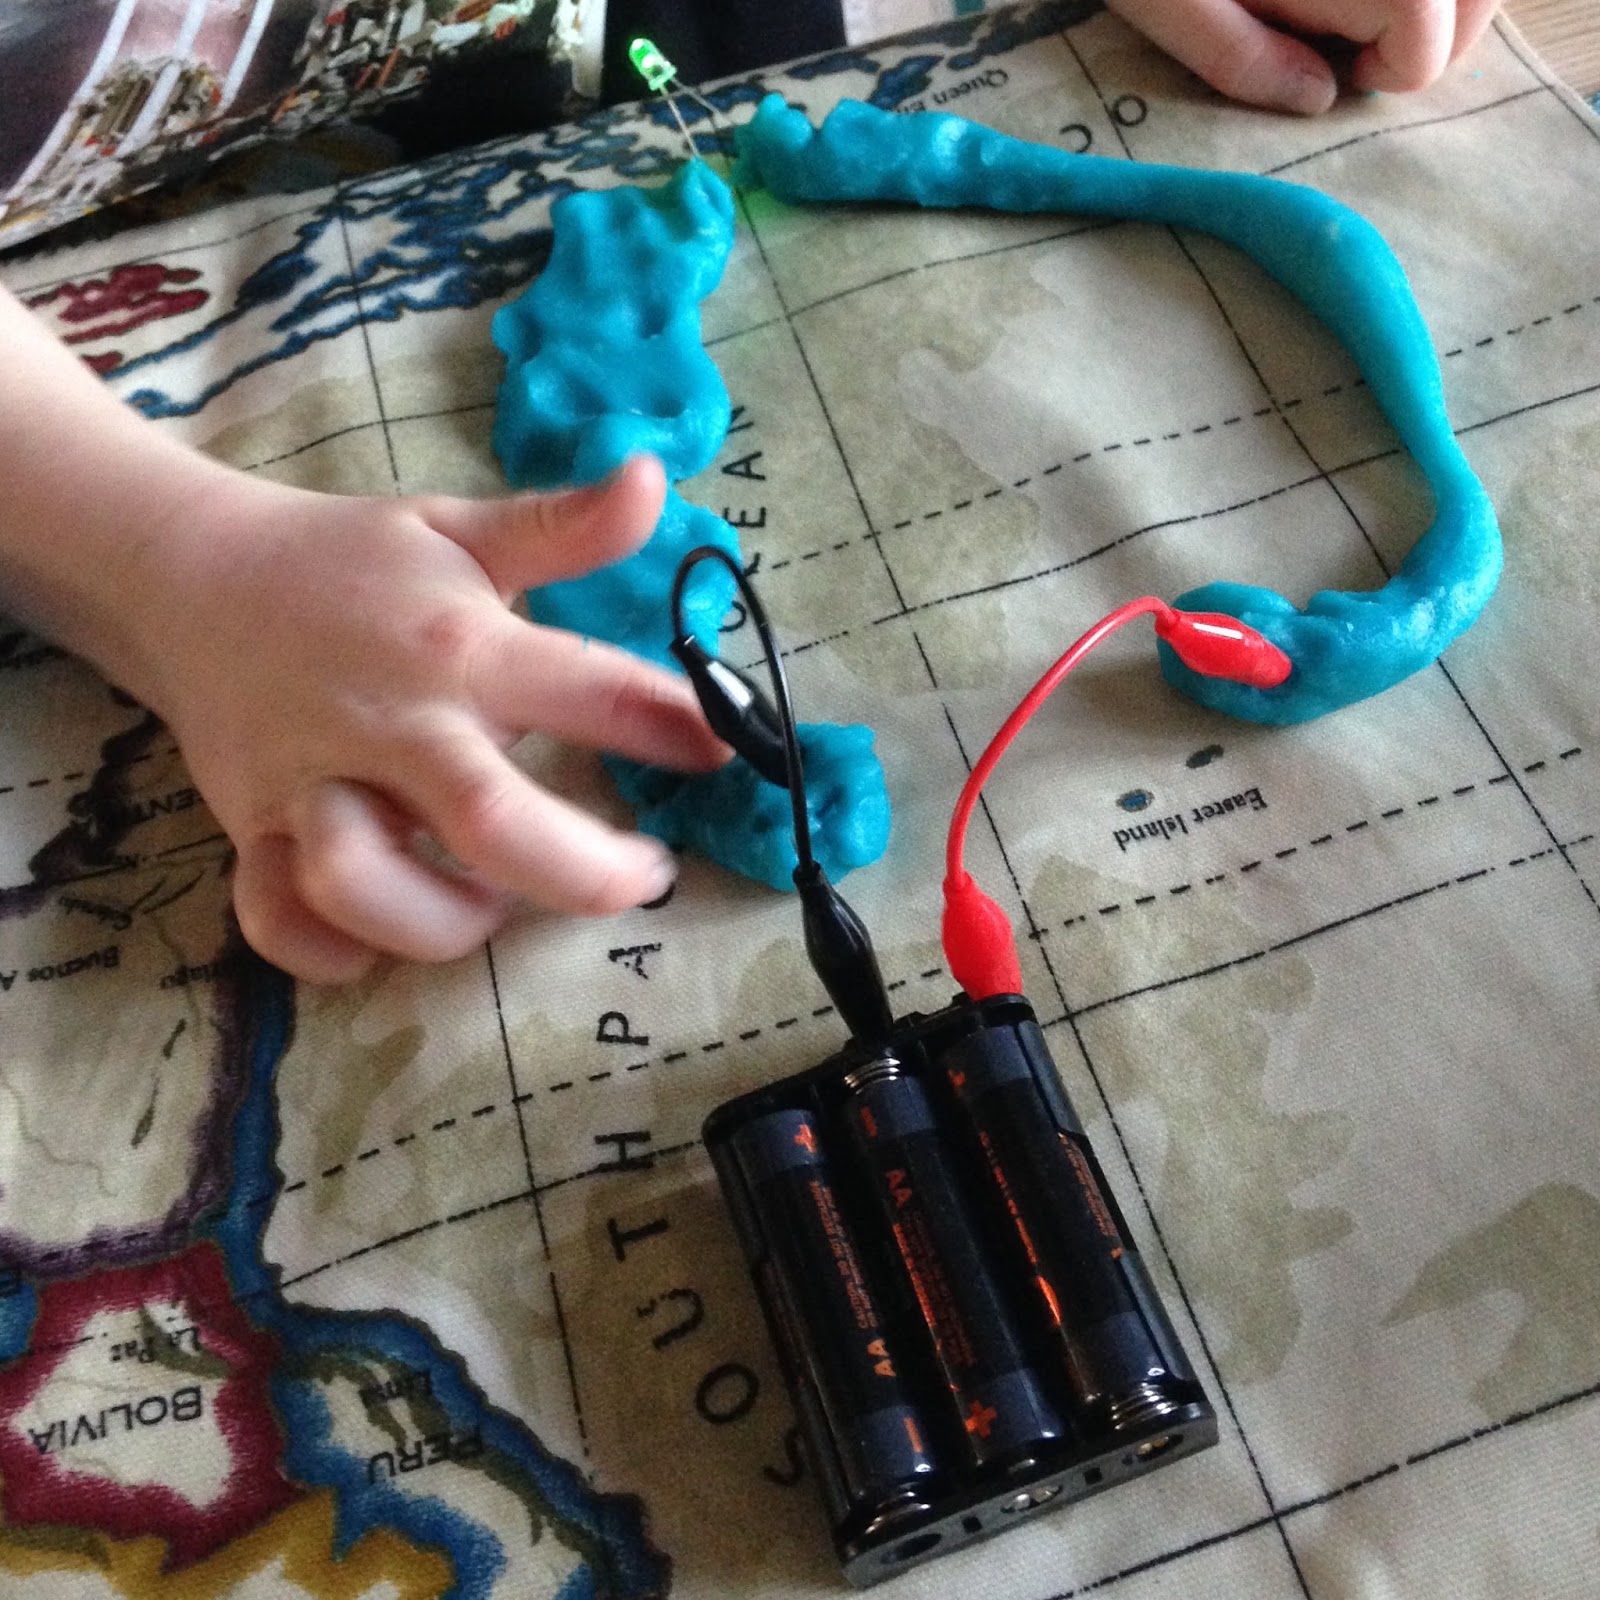
One of the "digital space" activities in the Primary Pack is Electro-dough. I hadn't realised that play dough would conduct electricity (due to the high salt content) but, once I knew, I couldn't wait to try it out! It seemed like the perfect half-term activity for me and my two sons (ages 6 and 3).
 We made the dough ourselves - weighing and measuring the ingredients and cooking them on the hob. I nearly forgot the food colouring, but adding at the end gave a nice marbled effect until it was fully kneaded.
The dough ingredients are flour, salt, water, lemon juice and oil, so no shopping trip was required. We pilfered some electronic components from their Dad's stash, but you can buy a kit of suitable parts from Technology Will Save us.
The 3-yr-old was happy enough to play with the dough, while I guided the 6-yr-old in making circuits.


UPDATE: Thoughts after my first school visit:
 For Science Week, I put on my shiny, new STEM Ambassador badge and spent a day in a primary school, doing this electro-dough activity with 42 Reception, Y1 & Y2 pupils. The children were divided into 5 (mixed age) groups of 8 or 9. Each group session was half an hour long and I had a student-teacher working with me.
I think the children really enjoyed the activity. Of course, some were more tentative than others to begin with, but all the children eventually managed to (independently) make a creation with at least 1 LED; some managed up to 6!
EQUIPMENT (n.b. other sources for these components are available):
EQUIPMENT (n.b. other sources for these components are available):
- 10 battery boxes (with a fuse to prevent short-circuits and points to attach crocodile leads) and plenty of AA batteries.
- 10 red & 10 black crocodile leads
- 20 red and 20 green LEDs
- A bundle of jumper wires
SAFETY: As this is a very safe activity, and as there were one or two children who were initially very reluctant to even touch the dough (having obviously been told to never play with electricity), I didn't want to issue too many warnings in my introduction. Fortunately, we made it to the second-to-last group before a child connected an LED directly to a battery box and the LED popped! (When making a circuit with wires, you would connect a resistor in series with the LED, but as the electro-dough is very resistive it isn't necessary, here). Unfortunately, he was quite distressed and it made several of the other children wary of touching anything for a while. In retrospect, in my introduction I should have explained the difference between the electricity in a wall socket and in a battery box and reassured them that, although there are a couple of minor risks to be aware of, they would not get hurt.
The only other thing to note is that the electro-dough quite quickly corrodes the LED legs and the metal ends of the croc-leads, making it hard to get a good connection. Also, some of the LEDs inevitably end up on the floor or losing their legs. For a full day of use, I would recommend having extra components to swap in when necessary.


No comments:
Post a Comment